Conducting multilingual elections
How to create a multilingual election
- Address your voters personally
- Simplify voting
- Activate voters
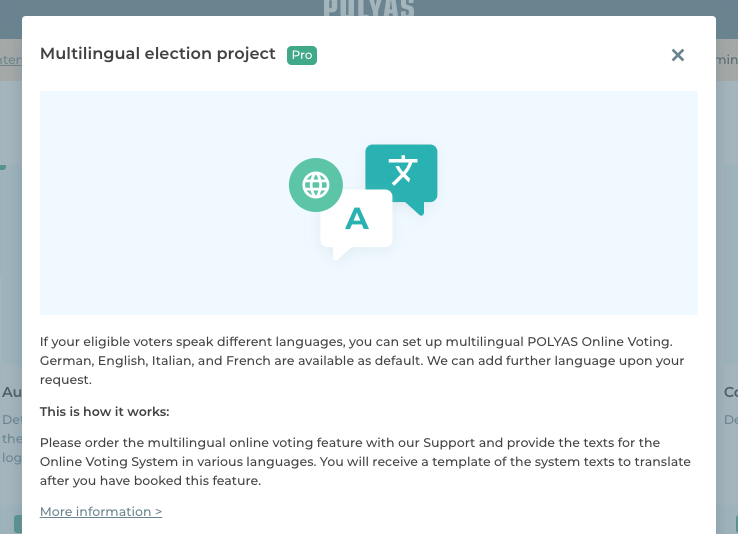
Does your organization have locations in different countries, so your employees don’t all speak the same language? With the “Multilingual election project” feature, you can still hold a single vote and include all of your employees.
The feature is available for all of our products, Online Voting, Live Voting and the Nomination platform; the setup is very similar.
1. Booking the feature
If you would like to book the “Multilingual election project” feature for your election, please contact POLYAS Support and state your project identifier. They will activate the feature for you and you can start getting set up. You can find the project identifier in your project overview in the POLYAS Online Voting Manager.
Please also let our Support staff know which languages you would like to use and which language you would like to set as the default. Ideally this is the language spoken by the majority of your voters. If no language has been assigned to the voter, the default language is automatically displayed first.
Note: The texts on offer in the POLYAS Online Voting System are English, German, French and Italian.
2. Creating multilingual ballot papers
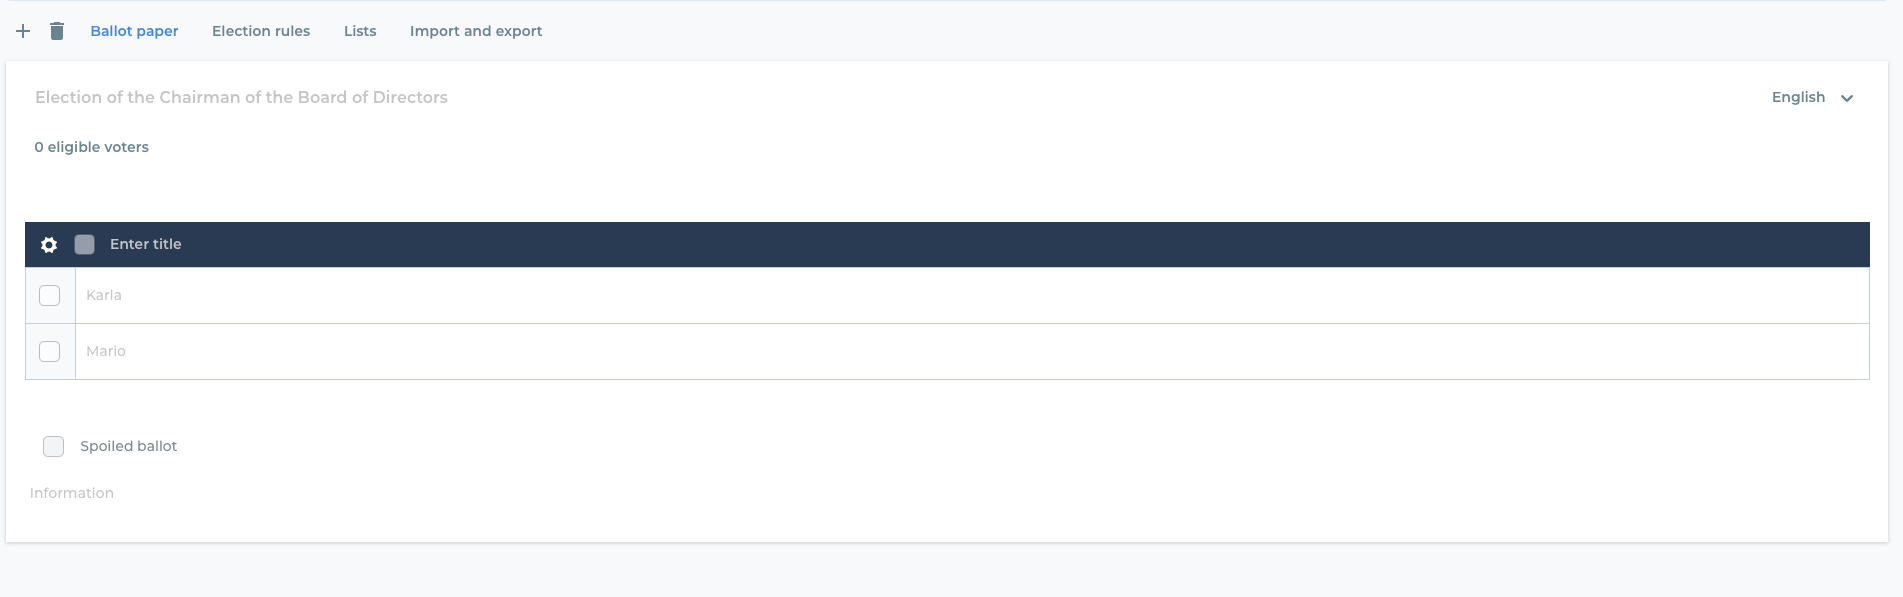
You can create your multilingual ballot paper now. First go to the “Ballot paper” tab and fill out the ballot paper in your chosen default language. Then select the next language using the Language Picker on the right-hand side of your ballot paper. The information that you have already entered in your default language is grayed out. You can now overwrite these with the translations into the second language.
Proceed in this way until you have stored the texts for this ballot paper for each of the languages you have booked.
-> Detailed instructions for creating ballot papers are available here.
3. Assigning languages to eligible voters
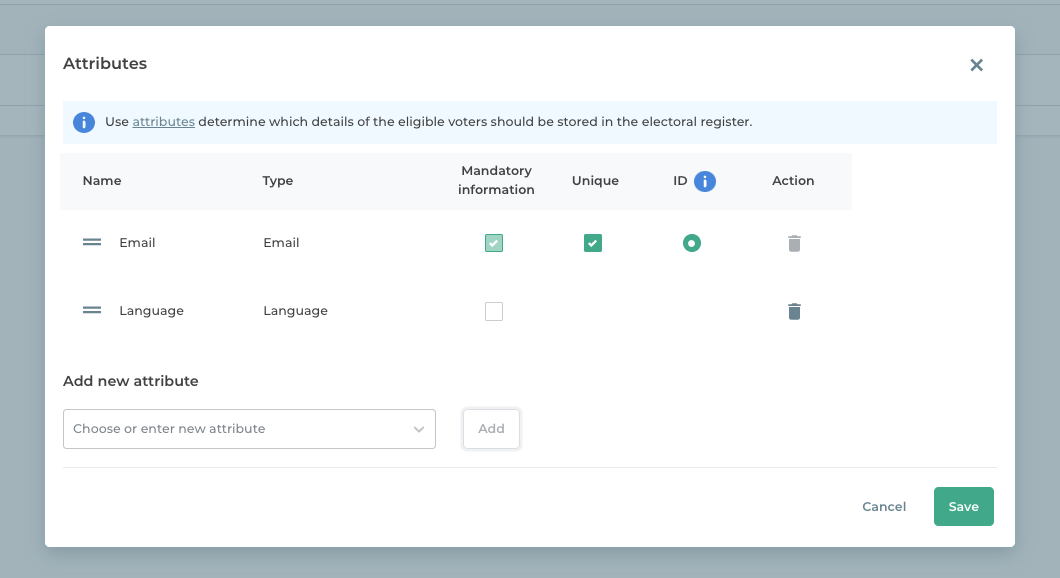
In the “Voters” section, navigate to “Attributes” and add the attribute “Language”. The “Language” column will now appear in your electoral roll. Enter the respective language abbreviation here.
If you wish to import your electoral roll into the POLYAS Online Voting Manager, create an additional column for the language and name it “Language”. You then use this to set the language that your voters see in the voting system.
Use these abbreviations:
- DE = German
- EN = English
- FR = French
- IT = Italian
Note: It is possible for the “Language” attribute not to be used. In this case, participants receive their invitation in the default language that you specified. Furthermore, the voting system, live voting system, and the nomination platform are initially displayed in the default language. However, participants can change the system language at any time and choose one of the languages booked for this voting project.
4. Further settings
There are further settings you can adjust to make your election multilingual.
Multilingual title
To enter the title of your election in multiple languages, go back to the “Ballot paper” tab. Here you will find the Language Picker on the right-hand side. Switch to another language. The title of your election is now shown with a gray background. You can now save the title in the selected language. Do the same for all of the languages you have booked.
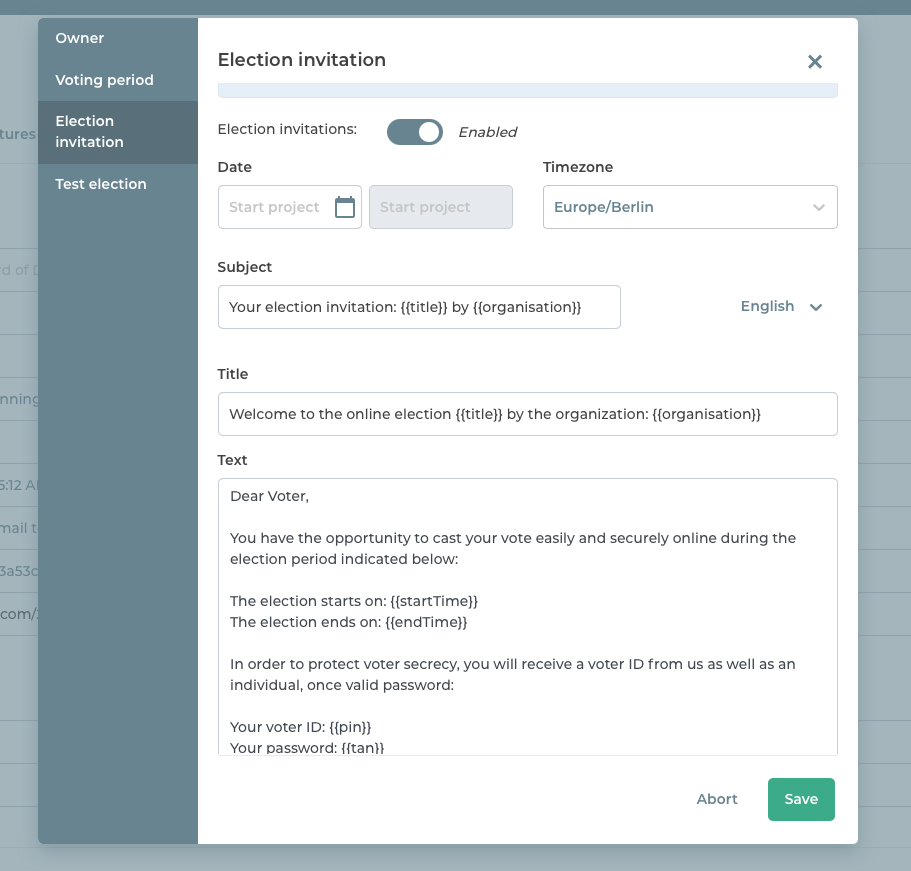
Multilingual voter invitation
To save the election invitation in multiple languages, switch back to the overview and click on the settings for the election invitation. Here, too, you will find a Language Picker to the right of the Subject so you can adapt the invitation to the language of your choice.
-> This way to the instructions for setting up the voter invitation.